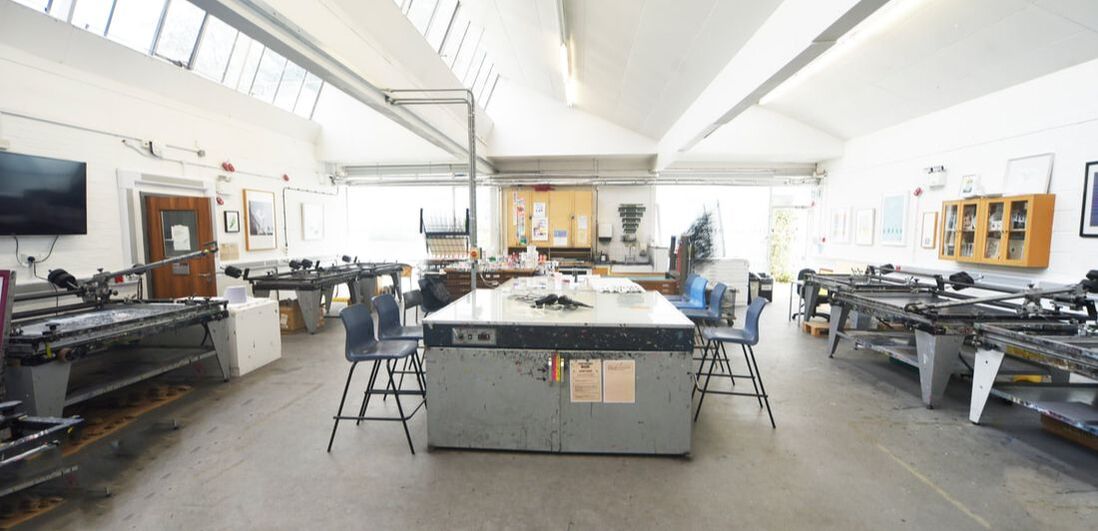
Water-based Screen Printing Area
Water-based Screen Printing (Serigraphy)
|
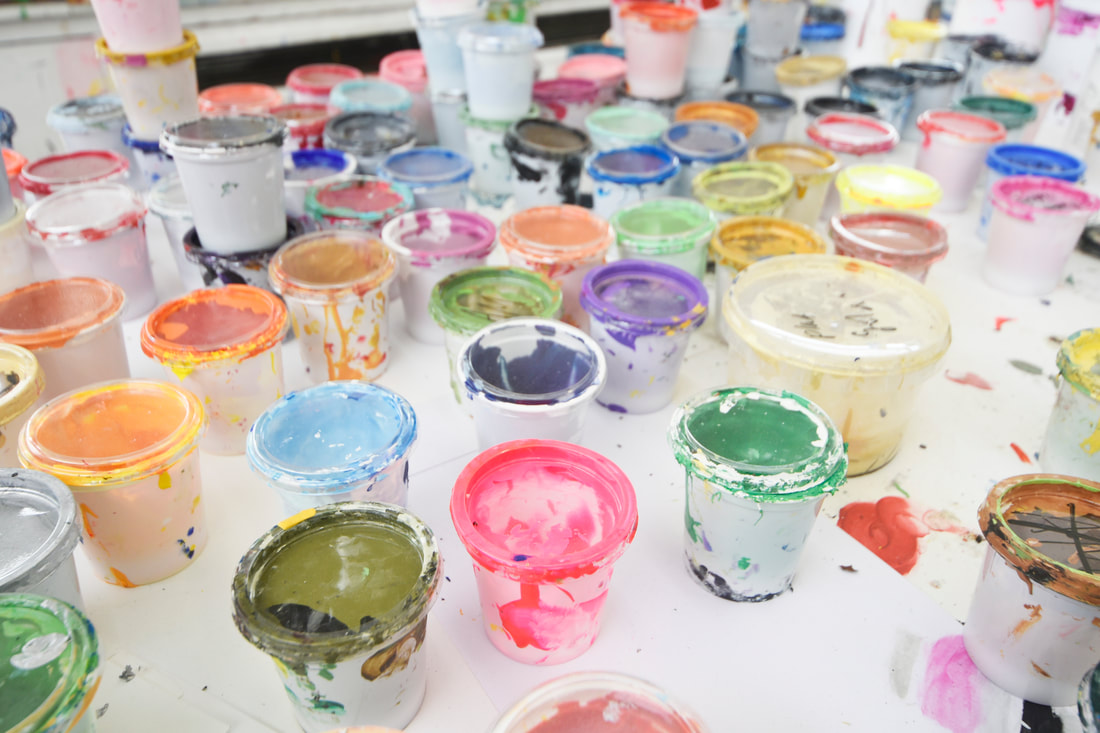
UWE are at the forefront of water-based screen printing and operate a non-toxic screen-printing area using acrylic pigments, mediums and tinters.
It is now possible to screen print onto various substrates: paper, board, wood, fabrics (T shirts), ceramics and vitreous enamels on steel and copper. By using fine mesh counts on screens (120T / 150T) fine grains, textures and halftones can be achieved. Larger mesh counts (90T / 60T) are available for fabric printing. Screens are coated with a photographic emulsion and when dry exposed in a large print-down frame. The print-down frame has a vacuum to hold the coated screen frame flat against the positive, which is then exposed to a Metal Halide point light source. |
|
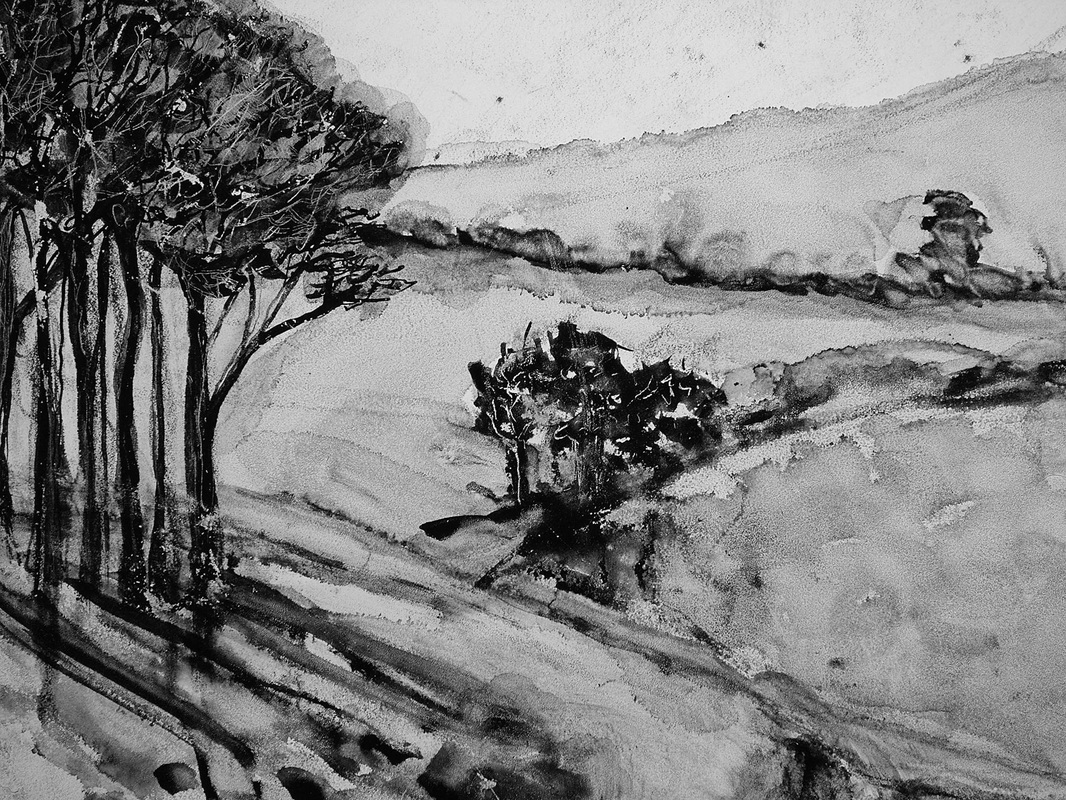
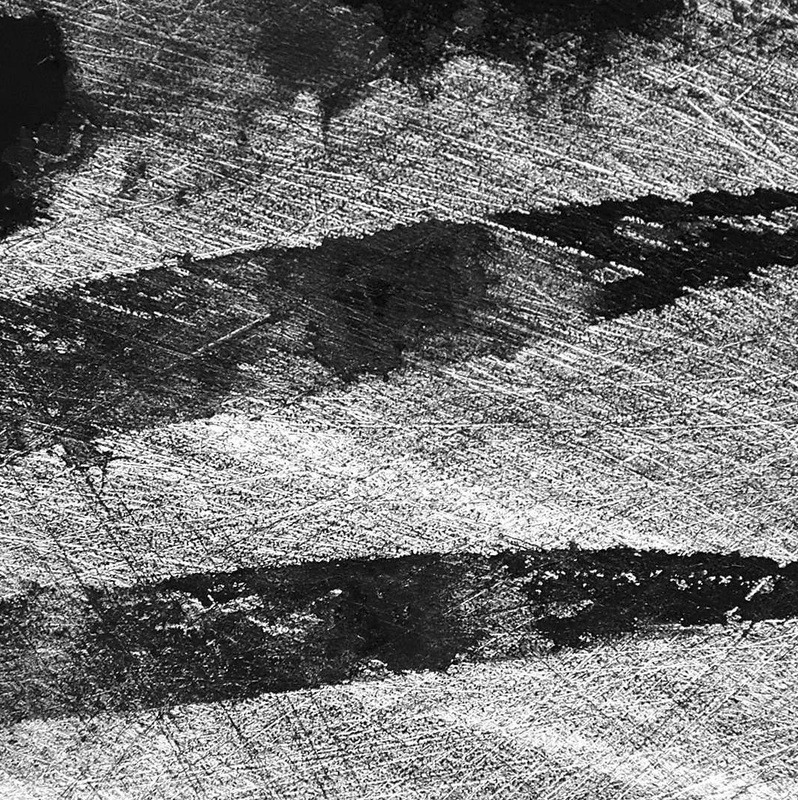
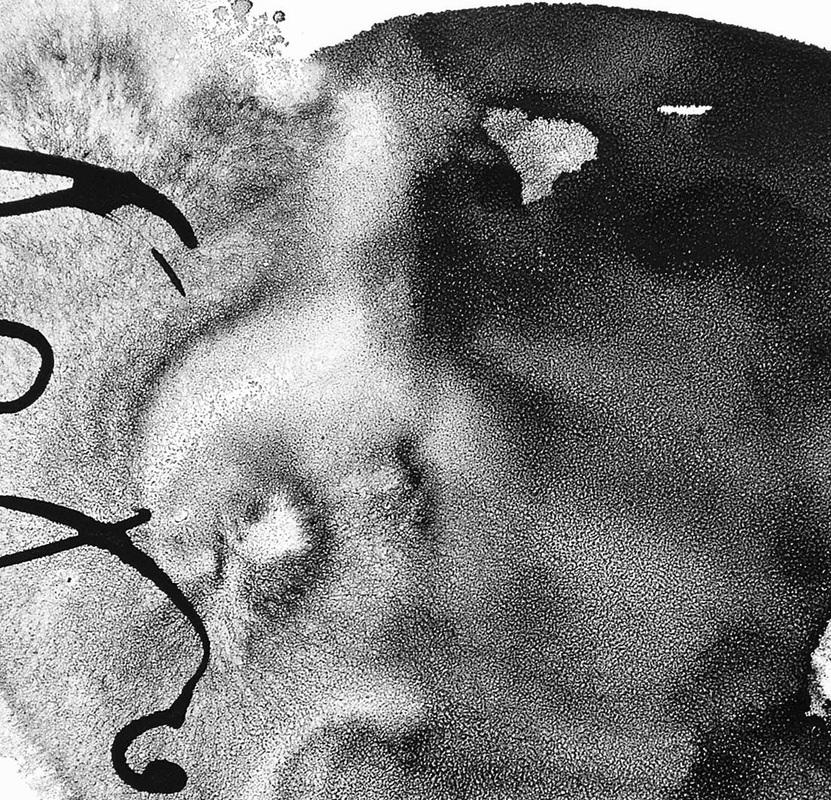
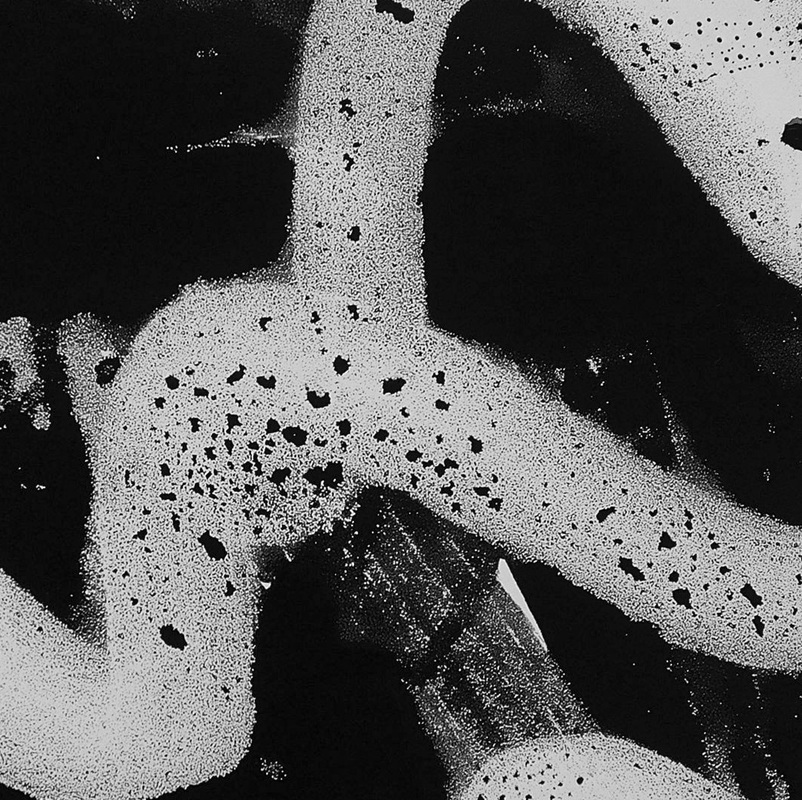
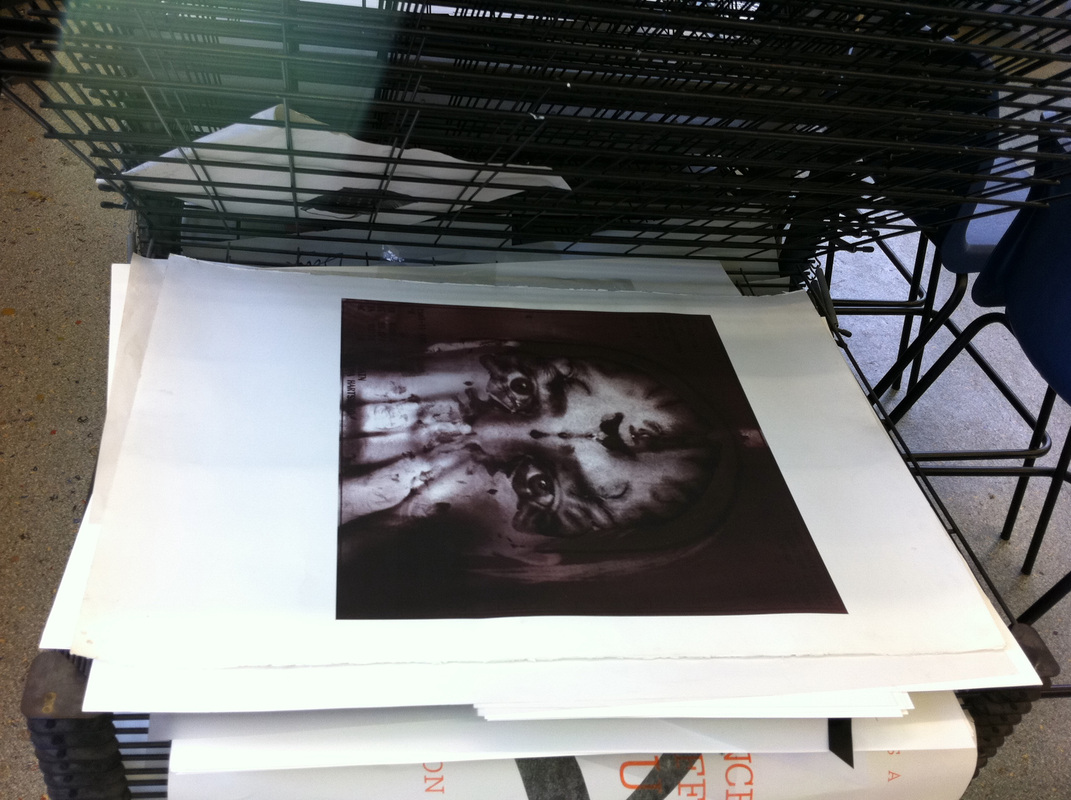
Mark-making onto textured drawing film
There are many ways of producing textures on the Mark Resist drawing film. Remember that it is a positive process and that all marks print the way you draw them. Use a light box, if possible, as the transmitted light makes it a lot easier to see exactly the quality of marks you are making. Do not forget to degrease the film with mentholated spirits before you start work and be sure to use the textured side of the film unless you are drawing solid areas or line work.
The Mark-making introductory workshops cover all aspects of hand rendered marks and the use of photocopies on acetate.
The Mark-making introductory workshops cover all aspects of hand rendered marks and the use of photocopies on acetate.


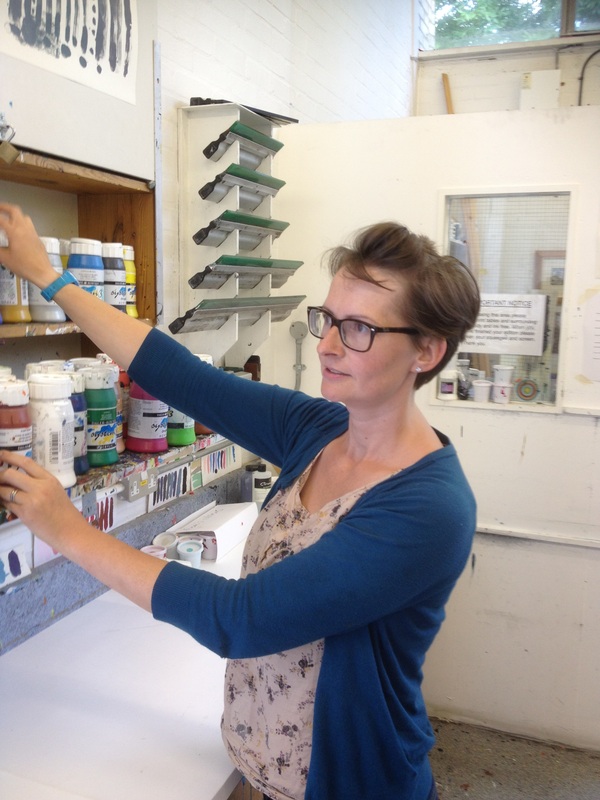
Screen Chemistry/Screen Coating
|
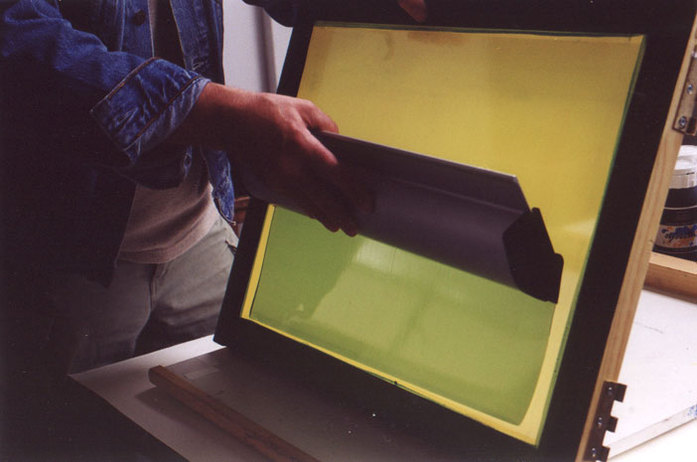
The coating of a screen with a photosensitive emulsion is probably the most important stage of the process. If this goes wrong it could affect the exposure
time and you will either lose detail or the image will break down. From now on I will relate to the squeegee side or the back of the screen, which is self-explanatory. The aim is to coat the dry mesh with a single smooth layer of emulsion. You must use a fine-quality coating trough that is in no way dented or damaged. Dry screens immediately once coated in one of the large drying cabinets, which also have large light box areas. |
Exposing Screens and Stencil Washout
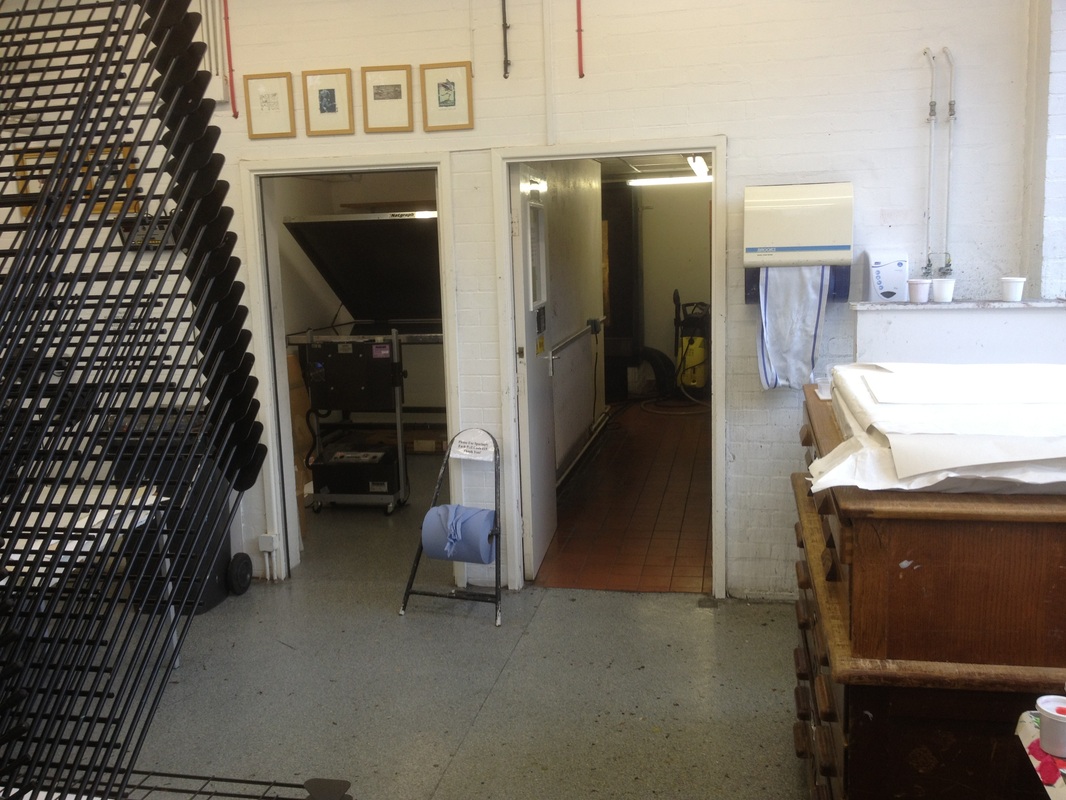
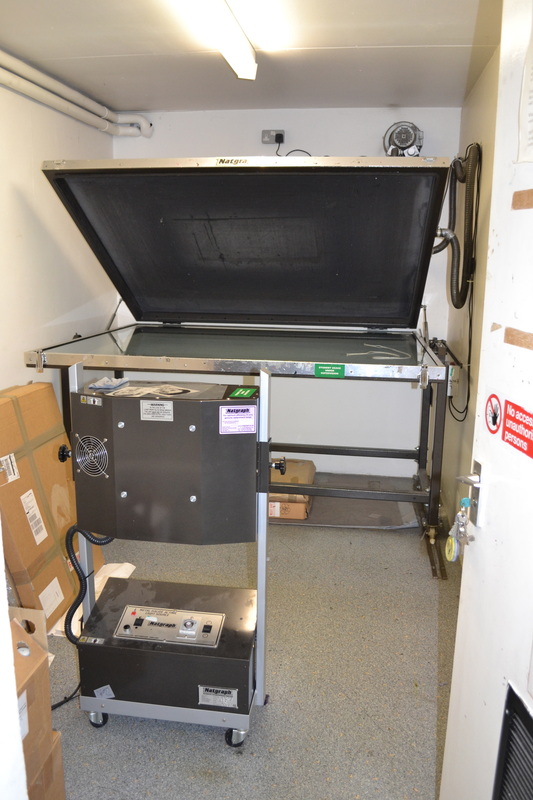
When the newly coated screen is dry, remove from the drying cabinet and take it immediately to the exposure room placing the screen on top of the positive, which is right reading on the glass. Turn the vacuum on and wait for a few seconds until the rubber blanket pulls down and molds around the screen.
Flip the print-down frame to the vertical position and leave the room. On the wall outside you will see the ‘Digital Intigrator' control unit, set time and press the green button. You will see the digital reader count down until the light turns itself off. Set the screen back to the horizontal position making sure it’s locked in position. Turn the vacuum off and carefully lift the rubber blanket. Remove the screen and take the screen to the washout tank. Using the small shower attachment wet both sides of the screen then wash for one minute each side, twice. Be sure to wash the whole area of green stencil on both sides.
Blot each side quickly with newsprint and again place into the drying cabinet. When dry, the screens are checked for pinpricks which can be painted with ‘Screen Filler’ using a small brush.


Pre-press, set-up and printing images
Place the screen into the screen-printing frame and lock into position with the four clamps. You are now ready to print your image.
Set-up, registration techniques and actual printing of images are covered in our introductory ‘Mark-making Intro’s also see the
‘Screen-printing Workshop Notes’.
Set-up, registration techniques and actual printing of images are covered in our introductory ‘Mark-making Intro’s also see the
‘Screen-printing Workshop Notes’.
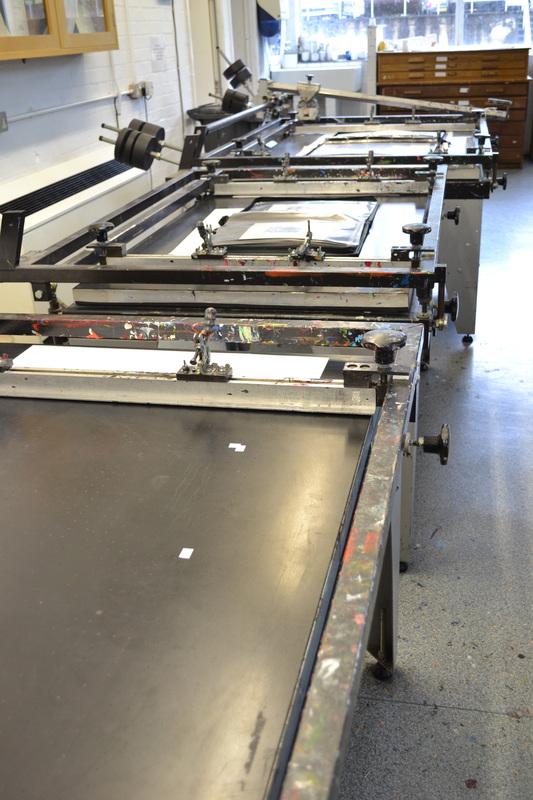
Screen Printing Equipment
|
Equipment consists of:
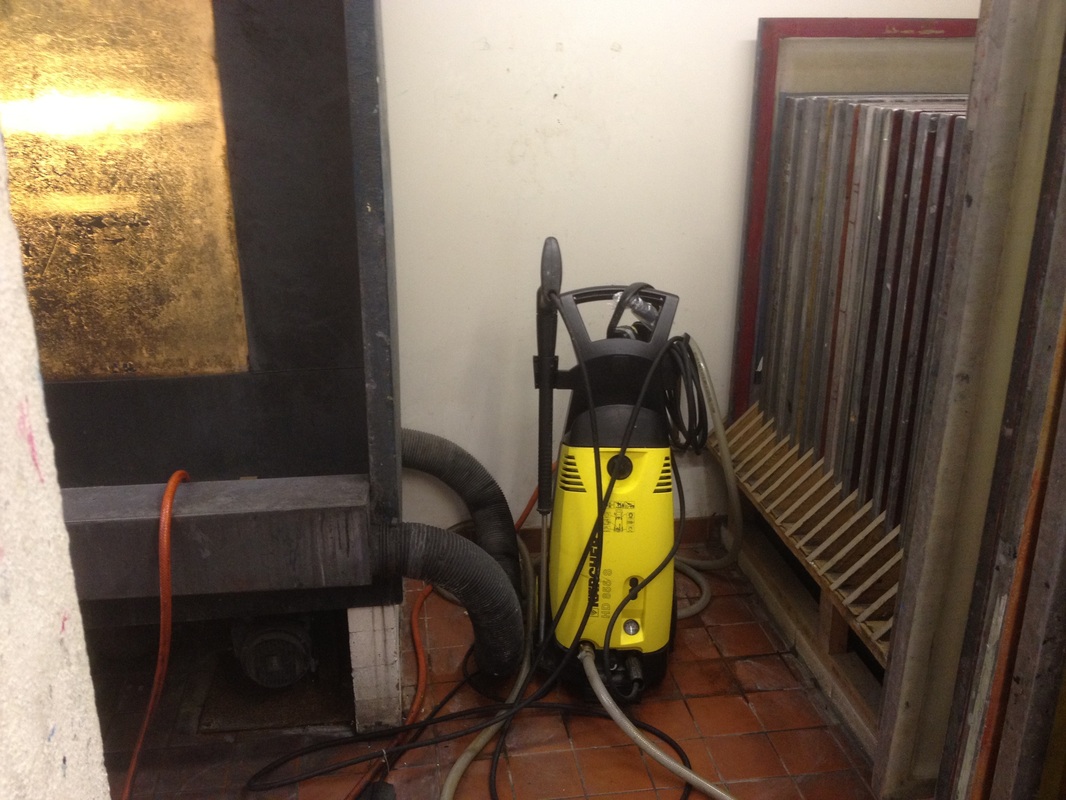
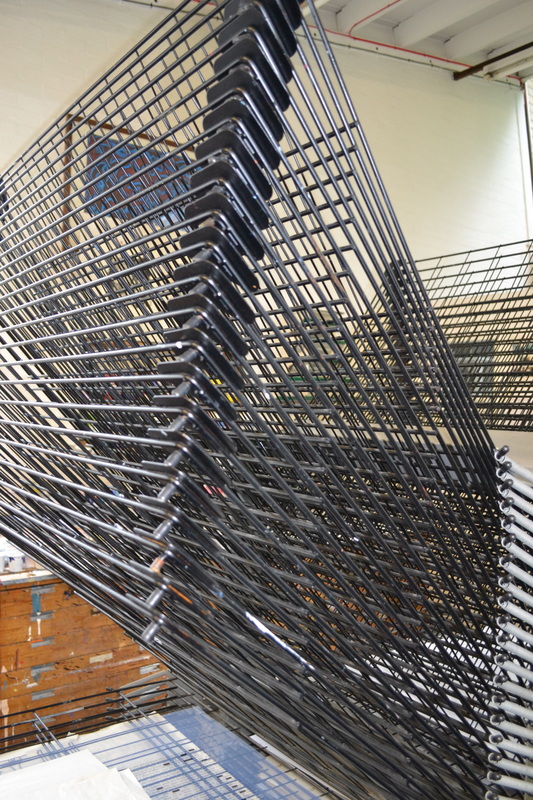
7 / Natgraph Screen Printing Tables: 4 / 60 x 85 cm print area. 3 / 80 x 107 cm print area. Natgraph Print-down Frame: 140 x 170 cm Natgraph Metal Halide Point Light Source with Digital Readout Light Intigrator. Parker Drying Cabinets / Light Tables x 2. Aluminium Screens in various sizes with different mesh counts. Drying Racks x 3: 110 x 84 cm rack size. Large Washout Tank with back lighting and extraction. KARCHER Power Washer. Various Aluminium Squeegees. Coating Troughs. |
|
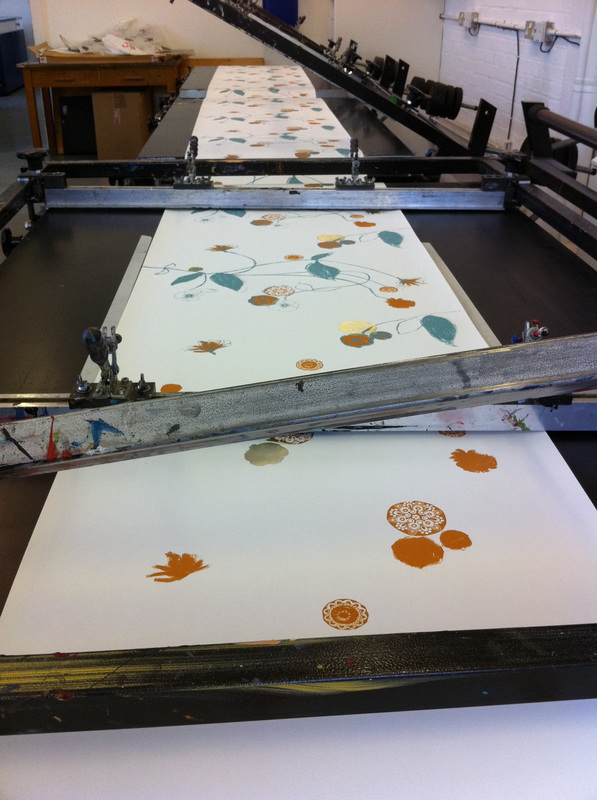
The Water-based Screen Printing Process...
Below is a complete slideshow of the screen printing process on equipment here at The Print Centre, Creative Arts, UWE.
Dave Fortune, UWE, School of Creative Arts, Bristol / 2012